Homemade Reese’s Cups with Date Sweetener
Highlighted under: Everyday Baking Ideas
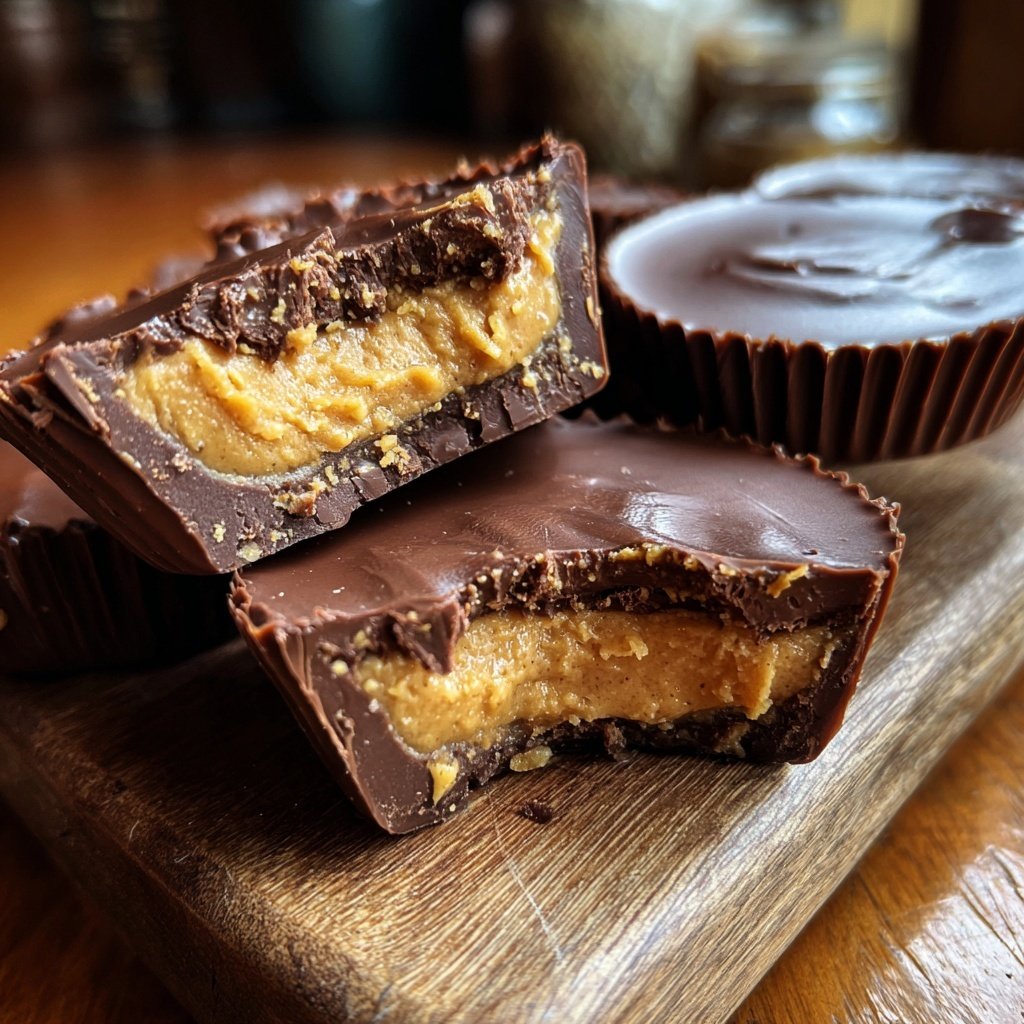
I love indulging in chocolate treats, and these Homemade Reese’s Cups with Date Sweetener have quickly become one of my favorites. The combination of rich chocolate and a naturally sweetened filling is truly satisfying. Using date sweetener instead of refined sugar not only enhances the flavor but also adds a touch of wholesome goodness. Whether you enjoy them as a snack or share them with friends, these cups are easy to make and deliciously satisfying. I can’t wait to show you how simple it is to create these delightful treats!
Making my own Reese's Cups was a fun experiment, and using date sweetener transformed the entire experience. Dates are naturally sweet and lend a unique flavor that pairs wonderfully with chocolate. I was amazed at how the sweetness from dates can enhance the richness of the chocolate without any refined sugar.
During my first attempt, I discovered that melting the chocolate slowly on low heat is crucial. This prevents it from seizing and ensures a smooth, creamy texture. I also found that using muffin liners makes the process cleanup a breeze, allowing for easy removal and perfect portions!
Why You'll Love This Recipe
- Rich chocolate flavor paired with natural date sweetness
- Creamy texture that melts in your mouth
- Perfect for sharing during gatherings or savored alone
Understanding Ingredients
The choice of dark chocolate chips for the shell is crucial for achieving that rich, deep flavor. Opt for a high-quality chocolate with at least 60% cocoa content for a satisfying taste. Combining it with coconut oil not only helps the chocolate melt smoothly but also gives it a glossy finish, elevating the presentation of your Reese’s Cups. If you prefer, you can use dairy-free chocolate for a vegan option, but ensure the coconut oil is refined to avoid a strong coconut flavor.
When it comes to the date filling, the dates are the star ingredient. Pitted Medjool dates work best due to their natural caramel-like sweetness and creamy texture, which helps create a rich filling. If you don’t have Medjool dates, you can substitute with Deglet Noor dates, though they may require a touch more peanut butter to achieve the same creaminess. Don't forget to blend the filling until it's completely smooth for an optimal texture that complements the chocolate shell.
Assembly Techniques
Properly molding the chocolate cups is key to ensuring they don’t crack during the filling process. When spooning the melted chocolate into the muffin liners, be sure to create a thick enough layer—about 1/8 inch—on both the bottom and sides. Letting the chocolate freeze for at least 10 minutes helps it set firmly; check that it’s firm to the touch before adding the filling, to avoid any mixing of layers.
During assembly, make sure you use a sufficient amount of date filling. A tablespoon of filling in each cup should suffice, but you can adjust according to your preference for sweetness. After topping with the second layer of chocolate, ensure it completely covers the filling to seal in the flavors. Also, don't rush the final freezing step—allowing the cups to chill for a solid 10 minutes ensures they hold their shape when removed from the liners.
Ingredients
For the Chocolate Shell
- 1 cup dark chocolate chips
- 1 tablespoon coconut oil
For the Date Filling
- 1 cup pitted dates
- 1/4 cup creamy peanut butter
- 1/2 teaspoon vanilla extract
- A pinch of salt
Instructions
Prepare the Chocolate Shell
In a small saucepan, melt the dark chocolate chips and coconut oil over low heat, stirring continuously until smooth.
Mold the Cups
Spoon a layer of melted chocolate into the bottom of each muffin liner, making sure to cover the sides slightly. Place in the freezer for 10 minutes to harden.
Make the Filling
In a food processor, blend the pitted dates, peanut butter, vanilla extract, and salt until smooth and creamy.
Assemble the Cups
Remove the hardened chocolate from the freezer. Add a spoonful of the date filling into each cup, then cover it with another layer of melted chocolate.
Freeze and Serve
Return the cups to the freezer for another 10 minutes to set completely, then enjoy your homemade treats!
Pro Tips
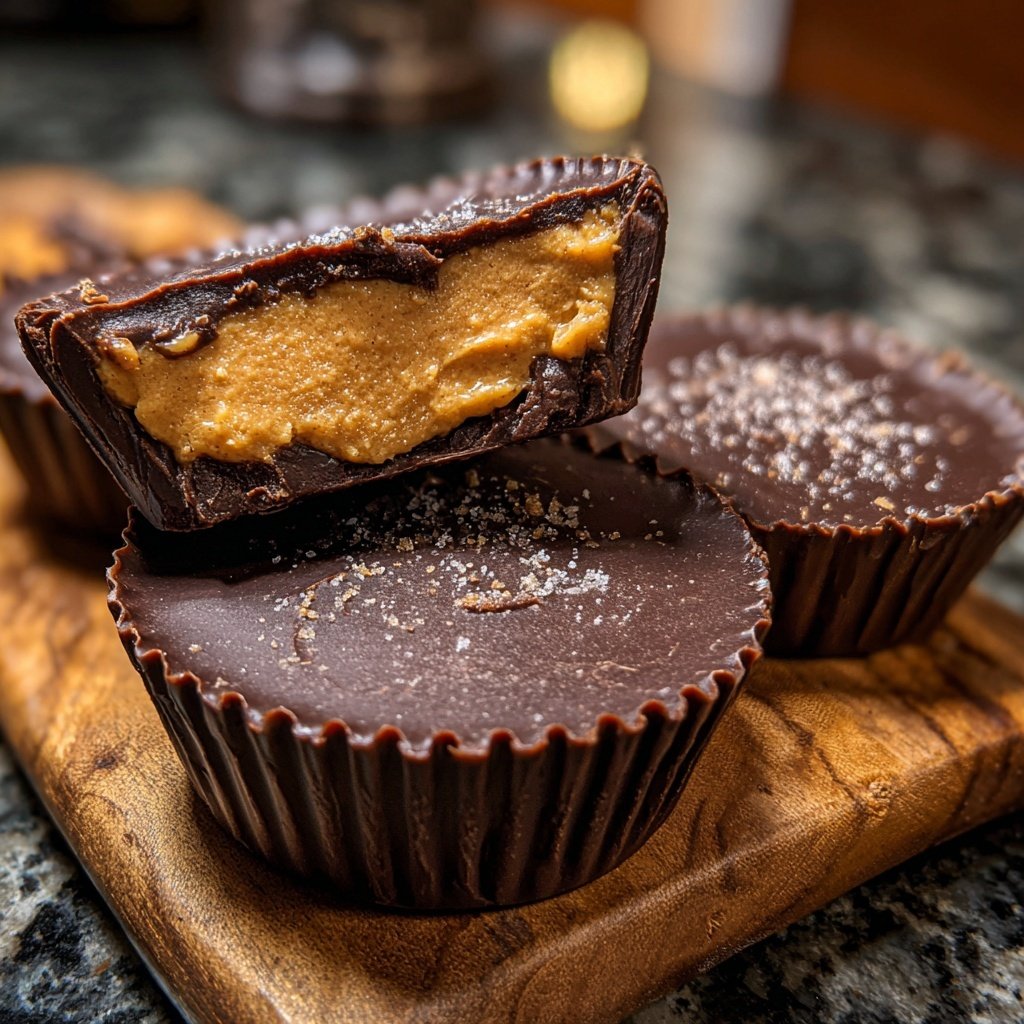
- For an extra touch, sprinkle some sea salt on top of the melted chocolate before freezing for a salty-sweet flavor.
Storage and Make-Ahead Tips
These Homemade Reese’s Cups can be stored in an airtight container in the refrigerator for up to two weeks. If you want to enjoy them for a longer period, consider freezing them. Just place them in a single layer in a freezer-safe container, and they’ll last for up to three months. When you’re ready to indulge, simply let them sit at room temperature for a few minutes to soften slightly before biting into them.
If you’re looking to make these in advance for a gathering, the cups can easily be prepared a few days prior. Assemble and freeze them, then transfer to the fridge on the day of your event to let them thaw slightly. This will keep their texture perfect for serving, ensuring they remain delicious and satisfying.
Flavor Variations and Tips
Feel free to experiment with mix-ins for the date filling! Adding a tablespoon of cocoa powder can intensify the chocolate flavor, while a dash of cinnamon can provide a warm, spicy undertone. For those who enjoy a bit of crunch, incorporating chopped nuts or some crispy rice cereal into the filling is a delightful twist that adds texture.
Another simple variation could be substituting the peanut butter with almond or cashew butter. Each nut butter brings its unique flavor, allowing you to create your own signature Reese’s Cup. Just be cautious with the consistency; if you choose a thinner nut butter, you might need to adjust the amount to keep the filling creamy and thick.
Questions About Recipes
→ Can I use milk chocolate instead of dark chocolate?
Yes, milk chocolate can be used if you prefer a sweeter flavor, but it may alter the overall taste of the cups.
→ How do I store the Reese's Cups?
Store them in an airtight container in the refrigerator for up to two weeks.
→ Can I substitute the peanut butter?
Definitely! Almond butter or any nut butter of your choice works well as a substitute.
→ Are these cups suitable for vegan diets?
Yes, as long as you choose dairy-free chocolate chips and natural peanut butter!
Homemade Reese’s Cups with Date Sweetener
Created by: Megan Scott
Recipe Type: Everyday Baking Ideas
Skill Level: Easy
Final Quantity: 12 cups
What You'll Need
For the Chocolate Shell
- 1 cup dark chocolate chips
- 1 tablespoon coconut oil
For the Date Filling
- 1 cup pitted dates
- 1/4 cup creamy peanut butter
- 1/2 teaspoon vanilla extract
- A pinch of salt
How-To Steps
In a small saucepan, melt the dark chocolate chips and coconut oil over low heat, stirring continuously until smooth.
Spoon a layer of melted chocolate into the bottom of each muffin liner, making sure to cover the sides slightly. Place in the freezer for 10 minutes to harden.
In a food processor, blend the pitted dates, peanut butter, vanilla extract, and salt until smooth and creamy.
Remove the hardened chocolate from the freezer. Add a spoonful of the date filling into each cup, then cover it with another layer of melted chocolate.
Return the cups to the freezer for another 10 minutes to set completely, then enjoy your homemade treats!
Extra Tips
- For an extra touch, sprinkle some sea salt on top of the melted chocolate before freezing for a salty-sweet flavor.
Nutritional Breakdown (Per Serving)
- Calories: 150 kcal
- Total Fat: 10g
- Saturated Fat: 3g
- Cholesterol: 0mg
- Sodium: 70mg
- Total Carbohydrates: 15g
- Dietary Fiber: 2g
- Sugars: 8g
- Protein: 3g